
Schedule Multiple Imports into QuickBooks Desktop
To set the app import several files automatically use Multiple Schedule feature in Business Importer.
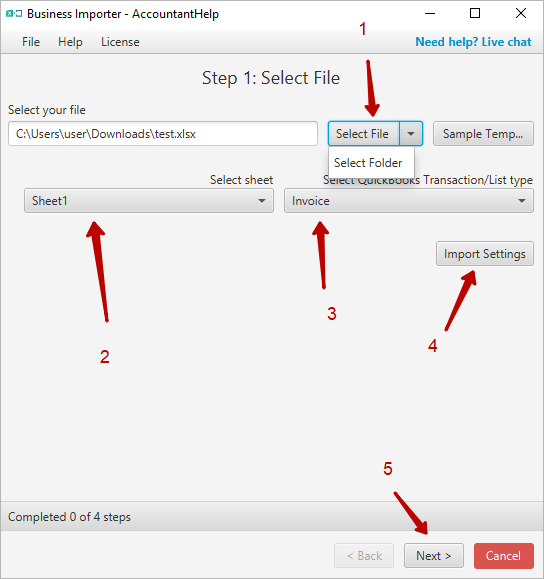
To schedule the import to QuickBooks Desktop in Business Importer, please, go to File top menu -> Schedules. In Schedules window click the Create button on the bottom follow these simple steps:
- Select import file or folder with import files. Note, you can schedule the import of the whole folder, however make sure you have all the files structured in exactly the same way.
- Select sheet in case you have several in your file
- Select the QuickBooks entity type you are going to import
- Make sure all the settings are correct
- Click Next button
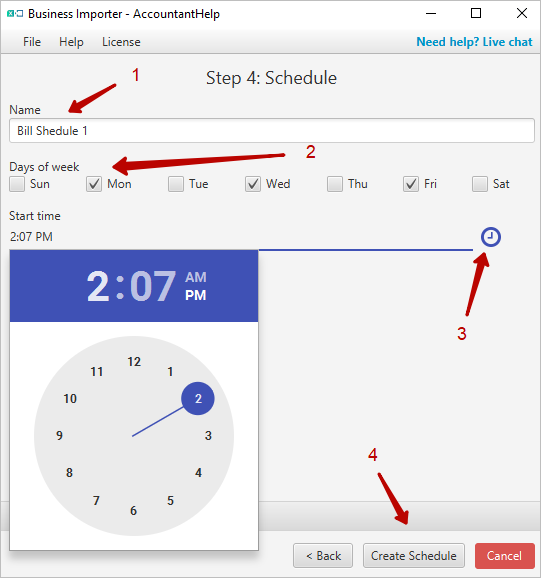
Please map your file, once it is mapped you will be able to see the preview. After that click Next and follow these steps to schedule your import:
- Insert the name of the schedule
- Select the day/days of the week you want the schedule to run at
- Select preferable time
- Click Create Schedule button to save it.
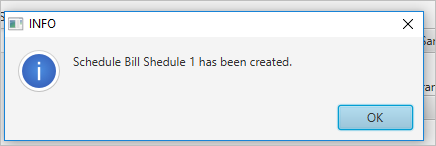
After completing these steps, your import will start on the date and time you have chosen.
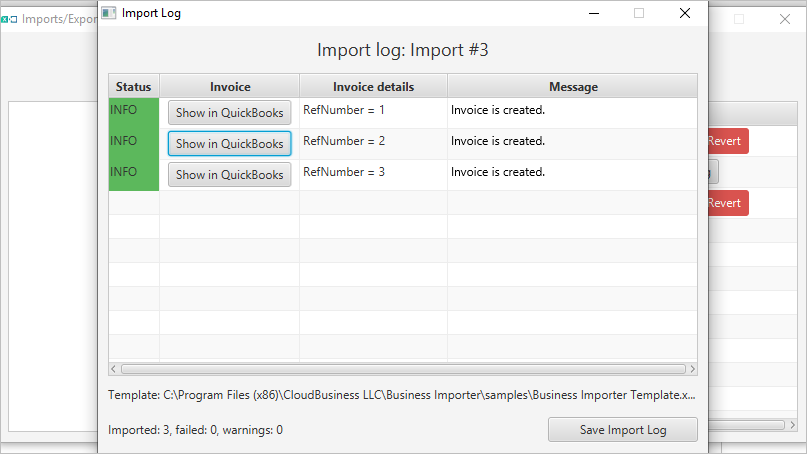
You are able to go directly to imported transaction in your QuickBooks Company from Import log.
Please note: you should not close Business Importer if you have a schedule configured, otherwise scheduled import won’t start! However, if this happened, don’t worry, run Business Importer once again and your schedule will be restored automatically.
![]()